Monday, June 28, 2010

Bacon Wrapped Jalapenos on the Grill


Jalapeno peppers !!
This is THE ONE RECIPE that has taught me how painful cooking can be and also reinforced the belief that jalapeno peppers can BE SPICY.
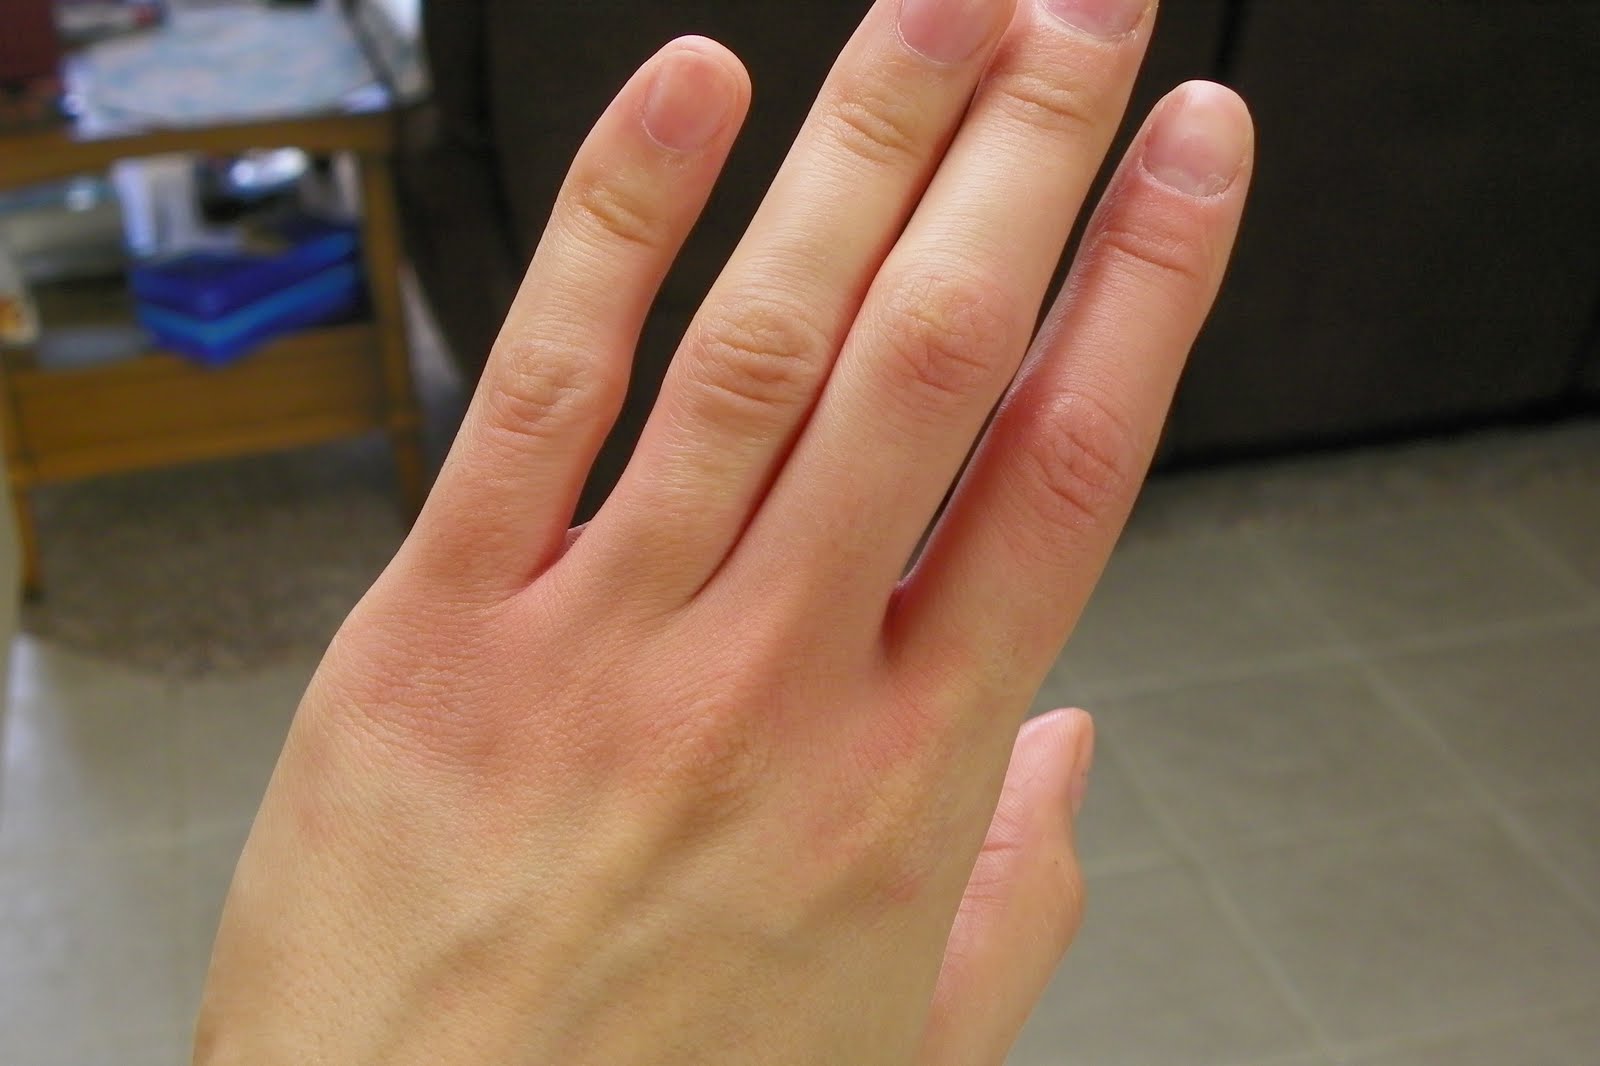
Oh, and please DO WEAR GLOVES WHEN CUTTING AND HANDLING JALAPENOS.
Or else you will burn for hours like me and this is not fun at all !
Look at my hand and notice the redness, somewhat isolated to the area where I had more exposure.


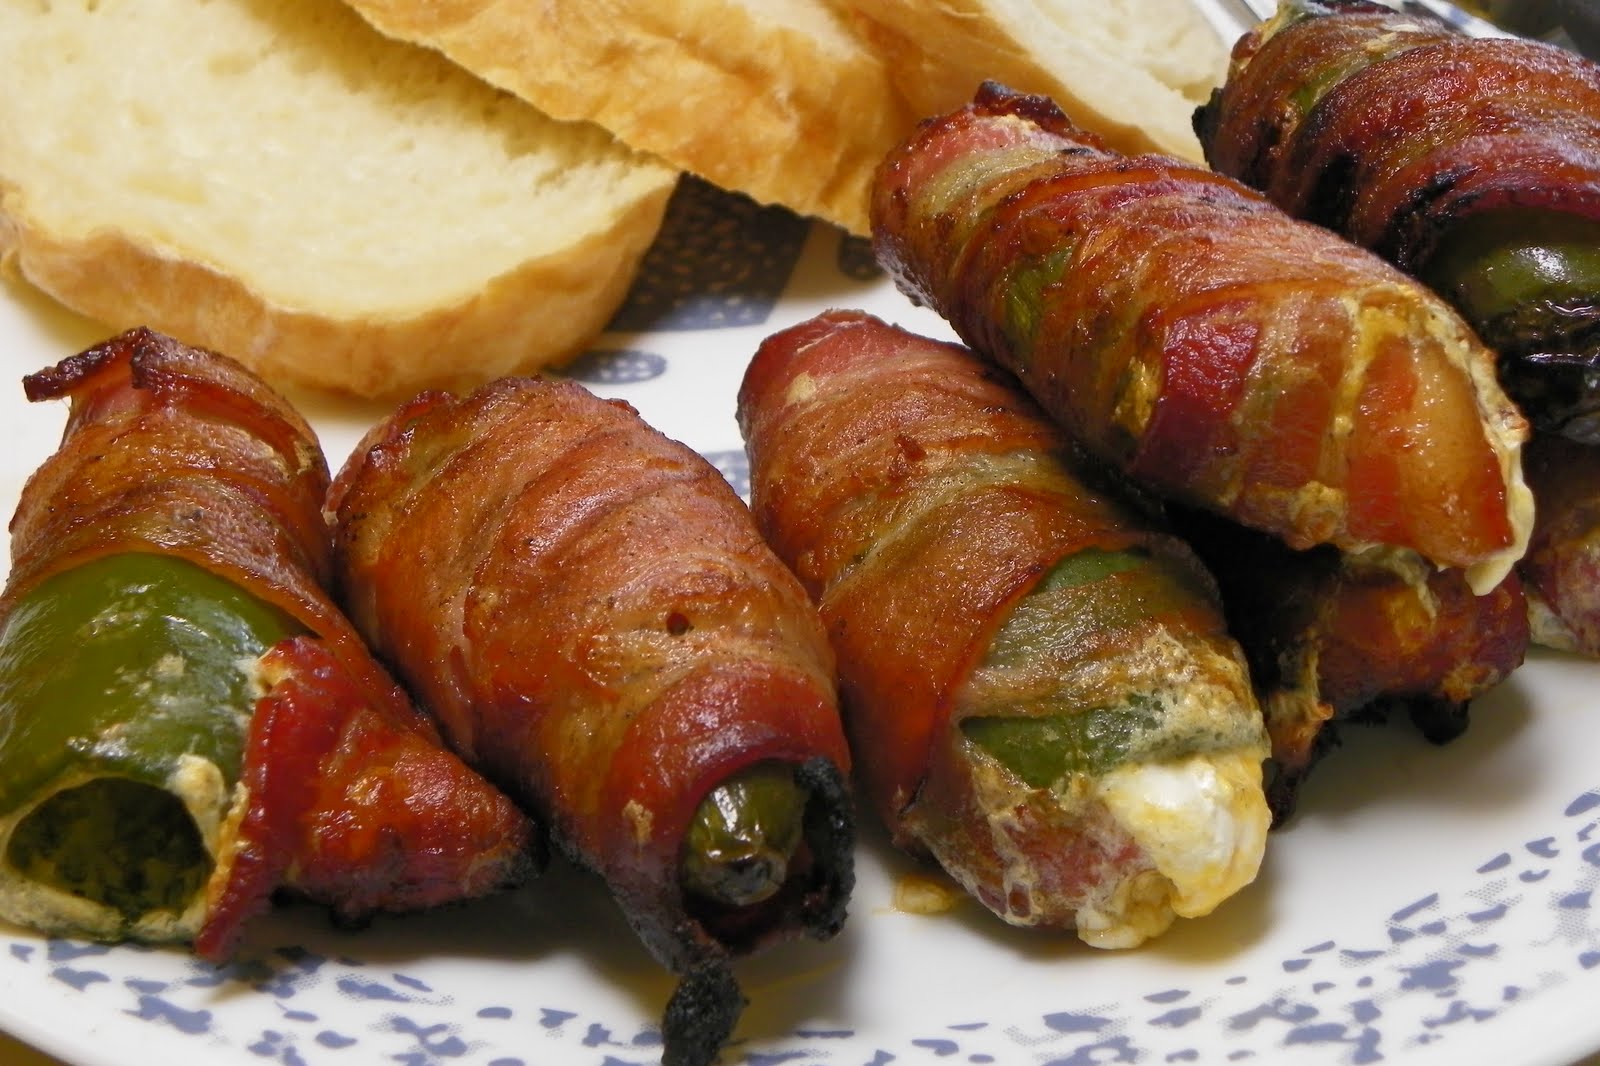
 The idea for this dish came from my neighbor Kay that absolutely adores these bacon wrapped stuffed jalapeno peppers and even though you are supposed to grill them, I'm pretty sure you can also bake or broil them.
 Super delicious and if you are not into spicy stuff, I suggest you only try 1 or 2 of them at the most.
Ingredients:
jalapeno peppers, cored (I used 16)


1 package of fat free cream cheese (8 oz), room temperature


1/2 cup finely shredded cheddar cheese


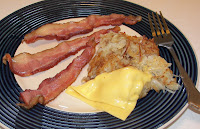
low sodium bacon slices (I used 16)


Directions:
First put gloves on and start working with the peppers.
Cut the tops and then core them using a small and sharp knife.

 
As you core them,


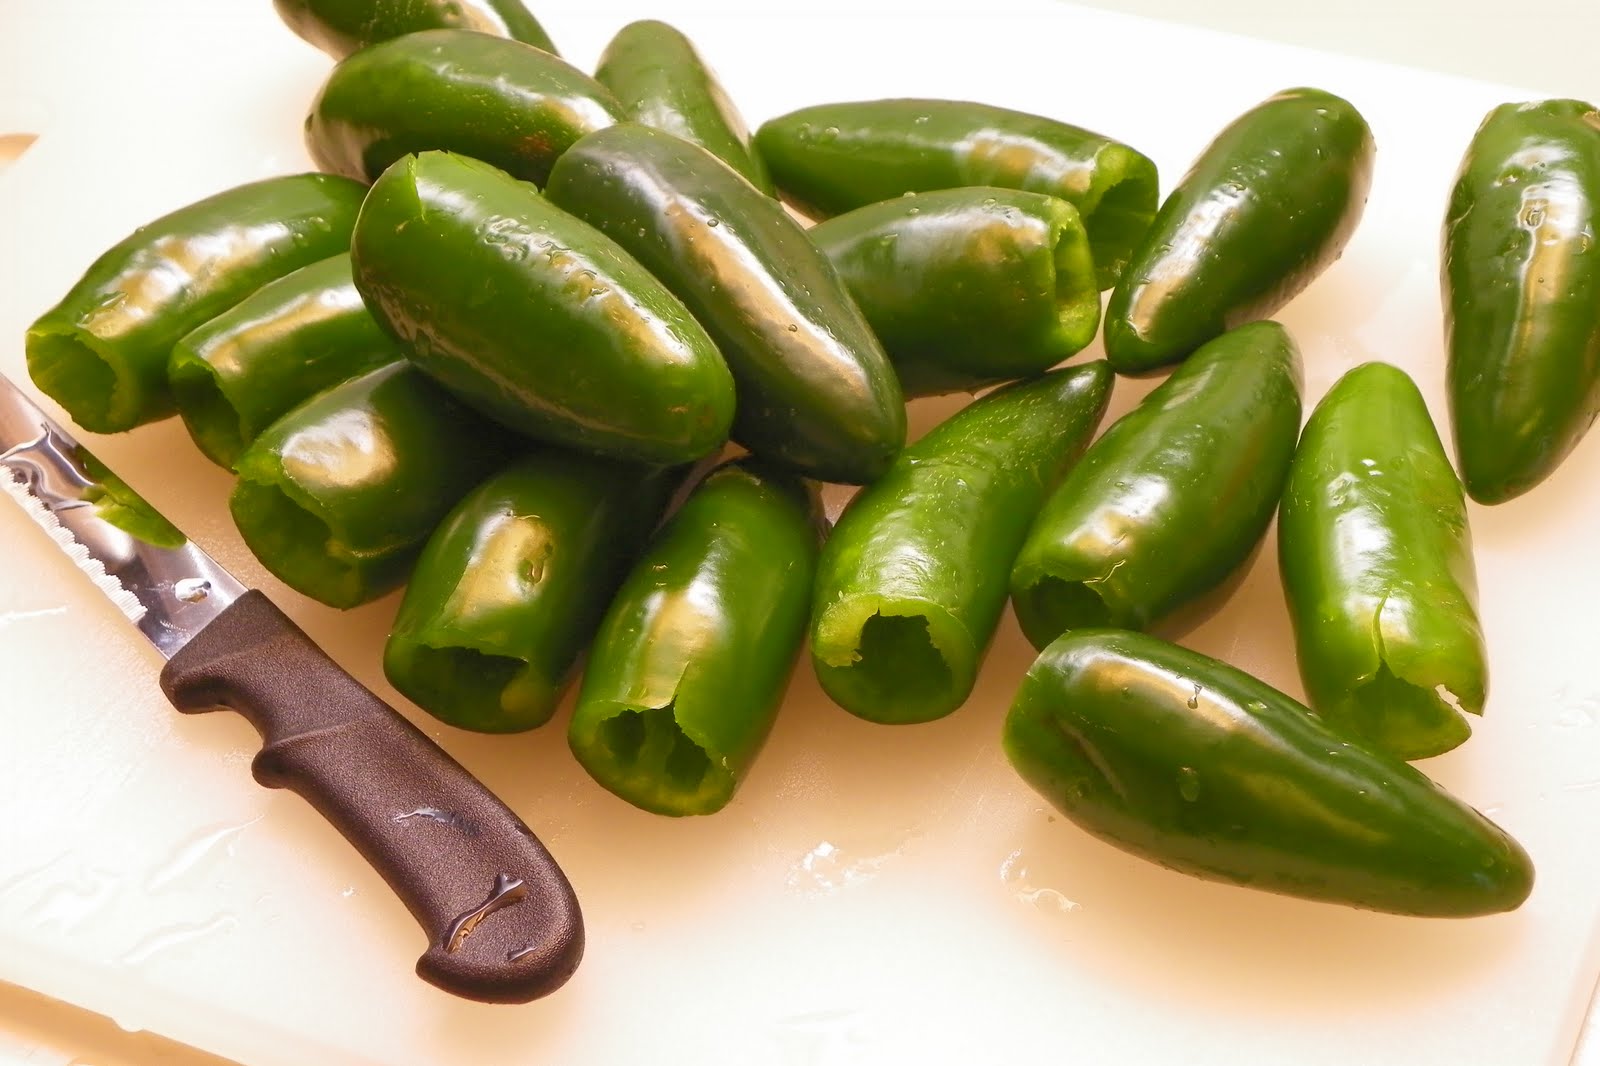
place the peppers in a bowl of cold water and let them sit in there for 60 minutes.
Jalapeno peppers contain capsaicin in the form of oil that gives them heat and penetrates your hands and burns BADLY and it seems that if you let them sit in water, then the heat fades somewhat.
If you forgot to use gloves and your hands burn, then follow THESE steps to get rid of the problem.
I have learned the hard way !!
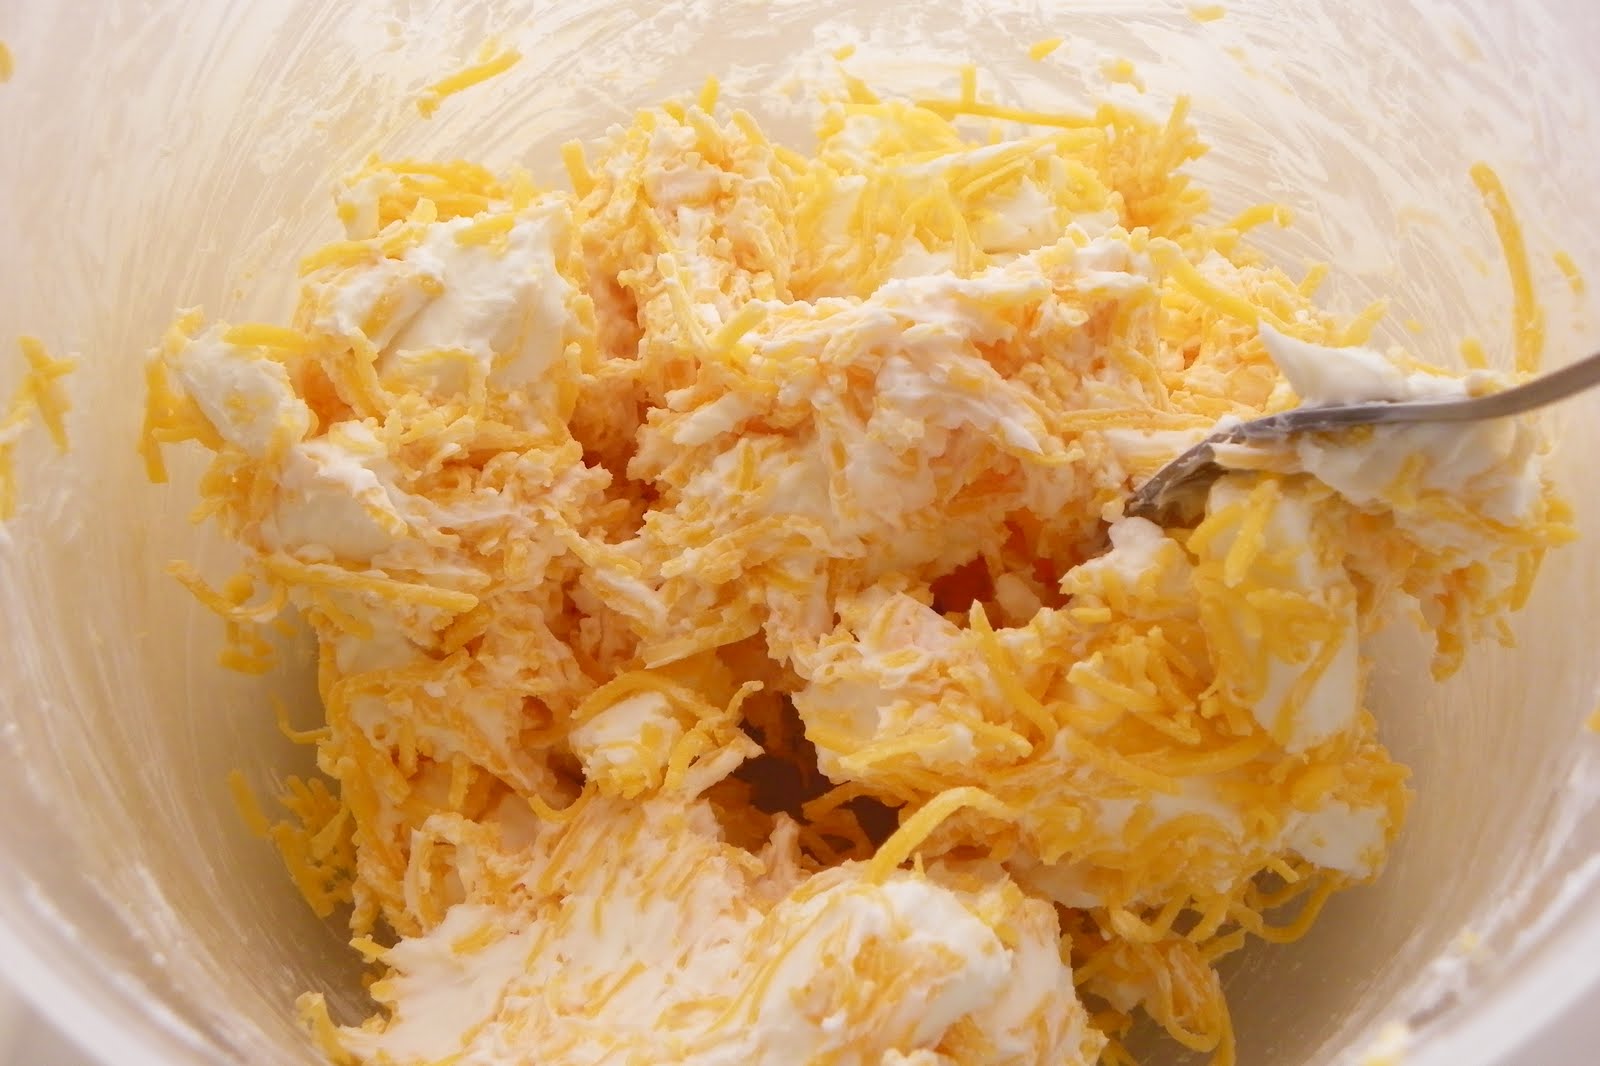
As the peppers are bathing, work with the filling ingredients.
Place the cream cheese and the shredded cheddar cheese in a bowl and cream together and have a teaspoon ready for filling the jalapenos.


This is also a good time to fire up your grill or preheat your oven.
If choosing the oven, go for super hot - between 475 and 500 F.
When you are ready to stuff the peppers, put your gloves back on and working with either your fingers or a small teaspoon, stuff all the peppers.


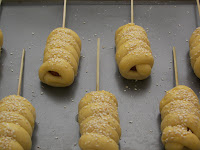
When all stuffed, proceed to the bacon wrapping step.


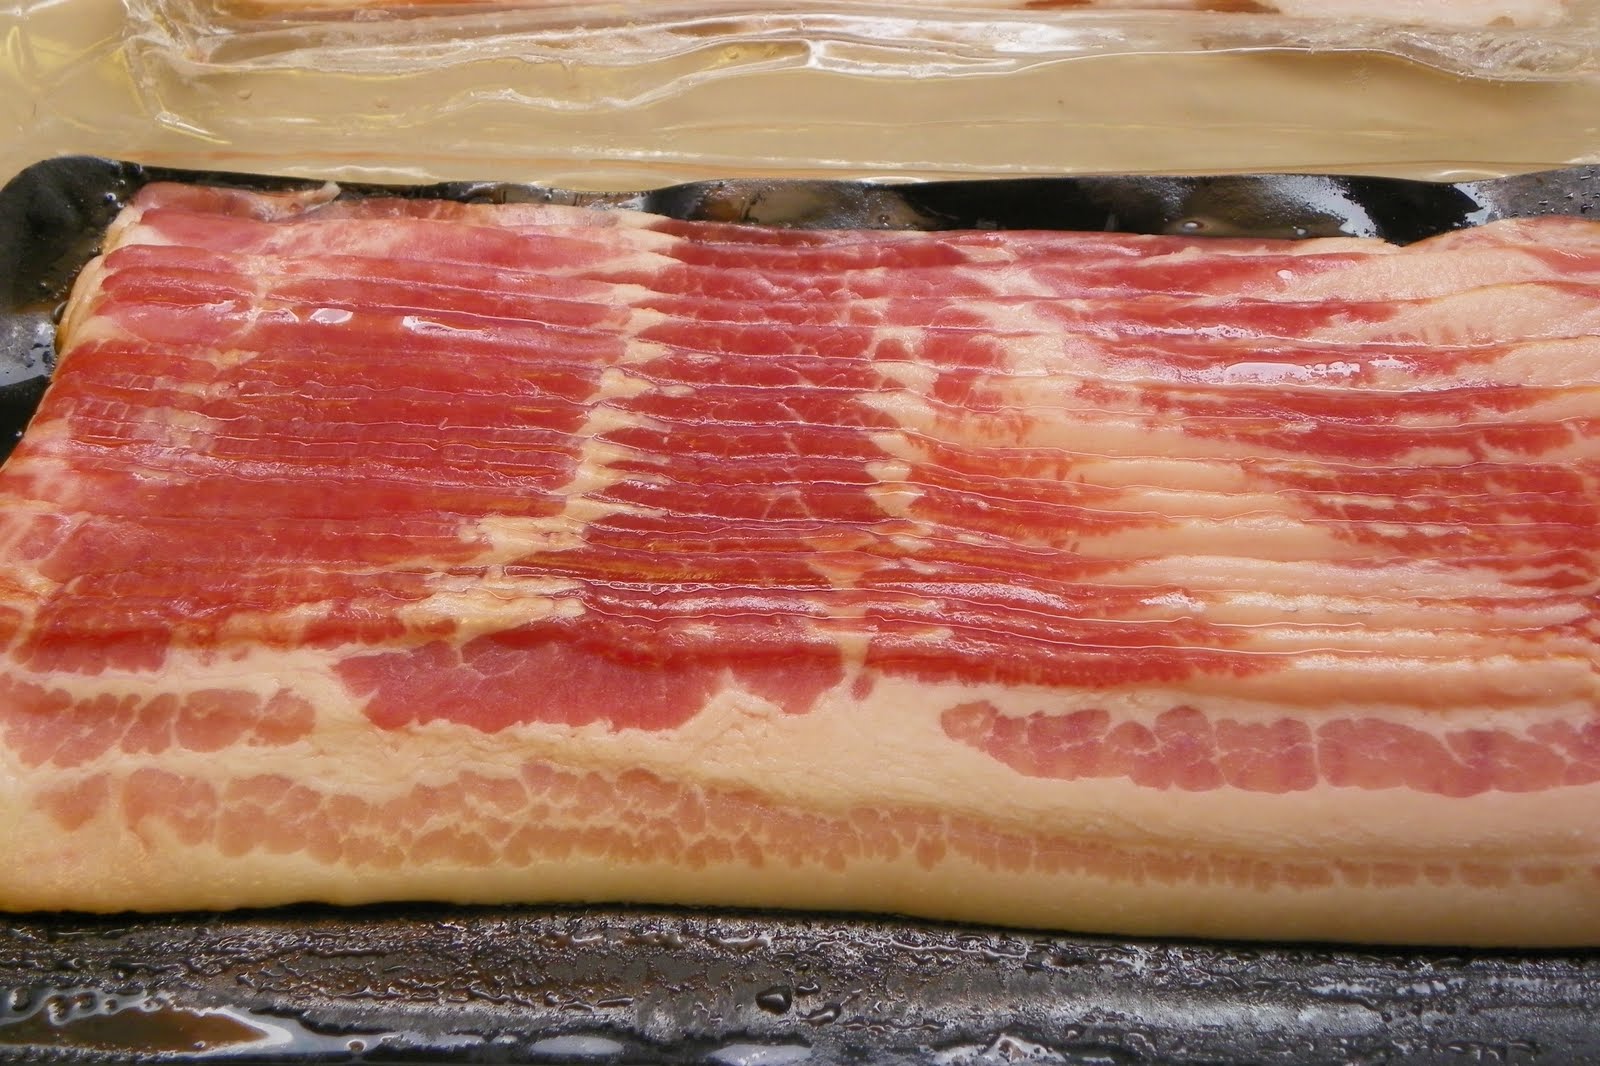
I first placed the one end of the bacon slice over the open end of the jalapeno pepper so that the cheese would not melt


and pour over your coals or in your baking dish.
It worked well with some of them, but not so good with others.


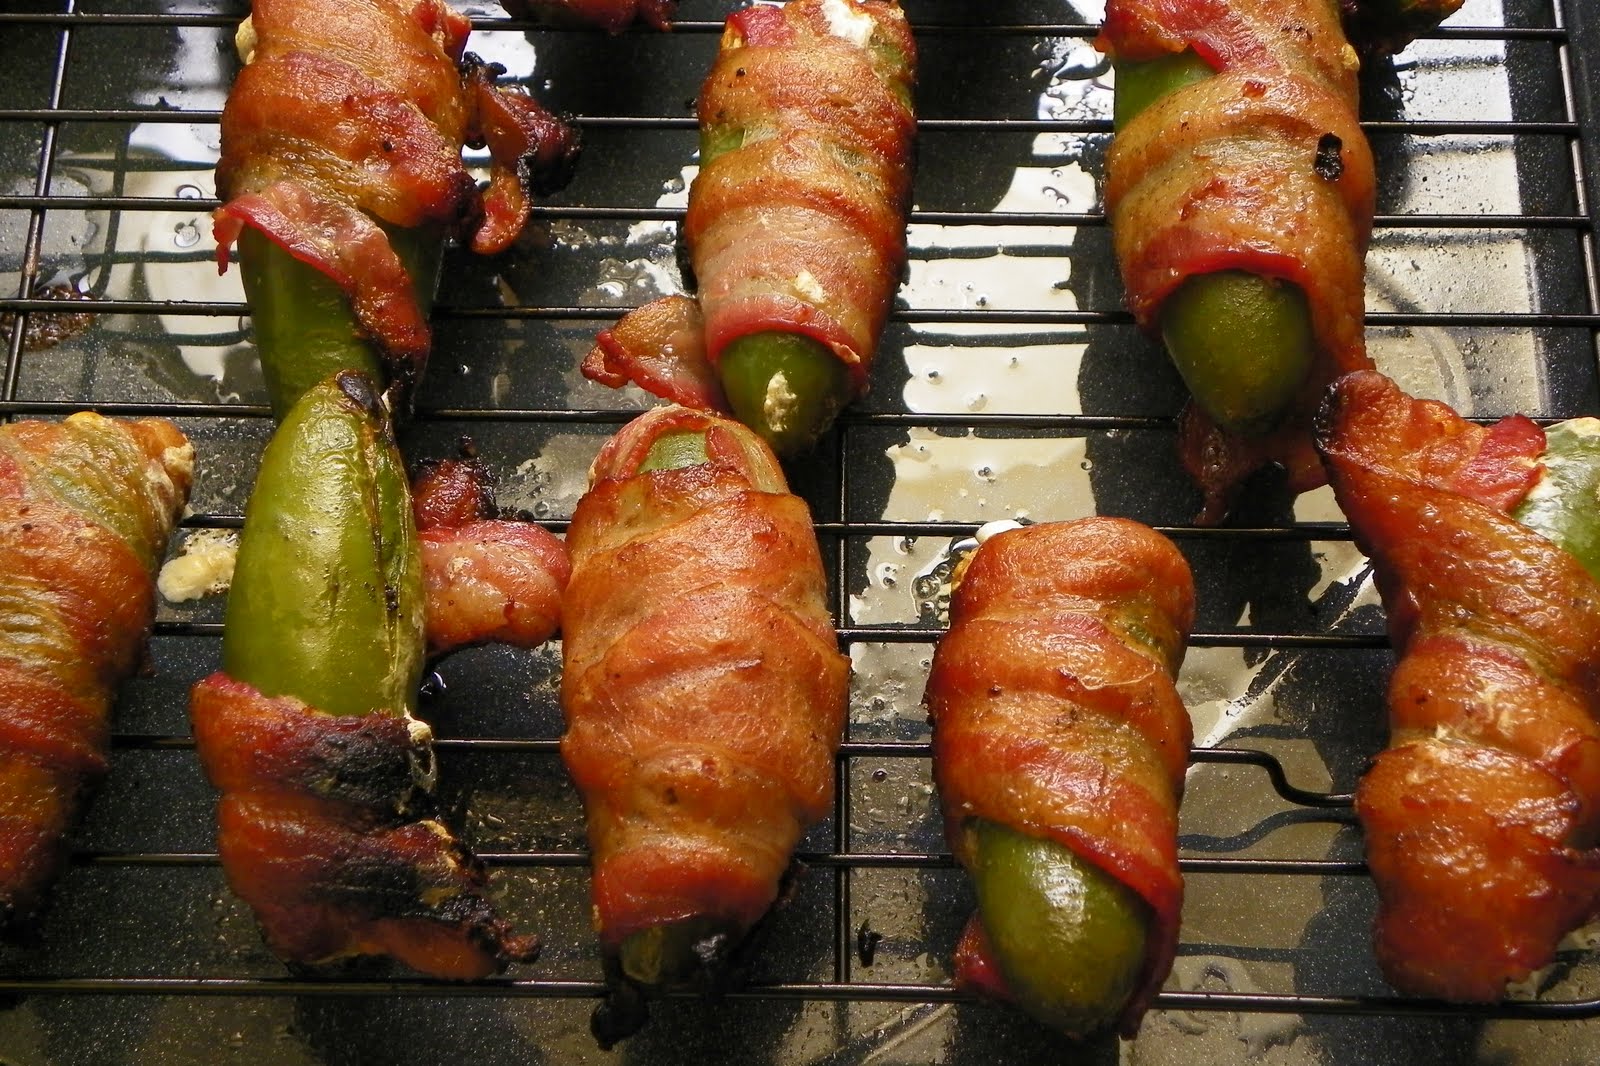
Grill for 10 to 15 minutes per side and do not let the grill unattended for too long because the fat spills and burns releasing A LOT of SMOKE.
If baking, just keep them for 10 or so minutes in the oven, turning halfway.
If broiling, just use the low heat broil and again, turn after 2 or so minutes.
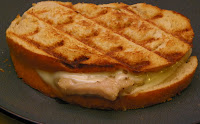
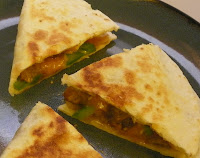
You want the cheese melted, the pepper roasted and the bacon crispy.
Heavenly !
Now I understand why my neighbor loves these peppers so much !

Saturday, June 26, 2010

Checkerboard Cookies


Even though cookies are going to taste the same no matter the shape, sometimes it is fun to play with colors and shapes and see what happens...because most often times than not - the result will be a feast for the eyes.
Click on the pictures to see them in full size.
I recently came across THIS recipe for these checkerboard cookies, which are a combination of simple sugar cookie dough with cocoa sugar cookie dough.
Obviously the taste is nothing else but chocolaty goodness and really the possibilities of playing with the patterns are endless.
This recipe is not necessarily labor intensive, but it does require you to adhere to the guidelines as far as sizing and timing goes.
 If you do go ahead and give it a try, the results of your work will be rewarding !


Ingredients:
  • 650 gr or 5 1/4 cups all-purpose flour
  • 1 tsp baking powder
  • 1 tsp salt
  • 4 sticks (1 lb) unsalted butter, room temperature
  • 2 cups granulated sugar
  • 1 TBSP pure vanilla extract
  • 2 eggs
  • 1/2 cup (unsweetened) cocoa powder


Preparation:
Sift together the flour, baking powder, and salt and set aside.
In a large bowl, using an electric mixer, beat the butter and sugar together until light and fluffy.
Beat in the eggs, one at a time, then vanilla extract.
Add the flour mixture a little at a time and mix to combine.
Finish the mixing with your hands or a wooden spoon.
Divide the dough in half.
The best way to do it is to use the kitchen scales and weight the dough.
Knead ½ cup of cocoa into one portion of the dough.
Divide each of the chocolate and vanilla dough in half.
Form each of total four portions into a rectangle, wrap individually in plastic, and refrigerate for at least 2 - 3 hours and up to a day.
Before proceeding, take one portion of the chocolate and one portion of the vanilla dough and let them sit on the counter for about 10-15 minutes to soften slightly.
On parchment paper, or a silpat silicone mat or a lightly floured surface, using a floured rolling pin, roll one portion of the vanilla and one portion of the chocolate dough (separately, of course) into ½ -inch thick rectangles, with the sides about 12 x 5 inches long.
Using a pizza wheel or a sharp knife cut out a total of 9 of half-inch wide strips from the each dough. Handling the strips delicately, form two checkerboard logs alternating the chocolate and vanilla strips
Cover with plastic wrap or parchment paper and refrigerate until firm, at least for 2 hours.
When ready to continue, on the parchment paper roll the remaining chocolate (or vanilla) dough into a rectangle about 1/3-inch thick and measuring 12 x 6 inches.
Place the firmed checkerboard log into the center, long sides parallel, and with the aid of parchment, wrap the dough around the checkerboard log pressing firmly to adhere.
Roll the finished log from side to side to form sharp corners.
Wrap in the parchment and/or plastic and refrigerate well.
The best would be to leave the formed cookie log in the refrigerator overnight.
Don’t rush if you are after the uniform shape of the cookies.
Repeat with the rest of the dough and the second chilled checkerboard log to form another, opposite in colors, cookie log.
Wrap, place in the fridge.
As mentioned, you can freeze the logs.
Thaw them overnight in the refrigerator before using.
When ready to bake, center an oven rack and preheat the oven to 350F.
Cover a large baking sheet with parchment or a silicone mat.
Using a very sharp knife, slice the cookie-dough log into ¼-inch thick slices.
Place on the prepared baking sheet leaving about 1 inch all way around them.
Bake the cookies, in batches, for about 12 to 13 minutes until firm and golden brown on the bottom. Don’t let them bake for too long, or the color contrast between the chocolate and vanilla dough will be lost.
Cool on the baking sheet on a rack for 15 minutes.
Then transfer the cookies to the rack and cool completely.

Thursday, June 24, 2010

Colorful Pasta


Colorful Pasta is one of those dishes that you just want to dig into as soon as you see it and finish it in the blink of an eye.
Sometimes with pasta it almost feels like you don't even need a steady recipe - but the truth is that you do need to know what has to go in, when  and how.
I'll also give you a few tips along the way.

Enjoy !

Ingredients:
2 handfuls of whole wheat pasta (for 2 persons)
6 to 7 inches of either Polish sausage or smoked country sausage
1/2 cup pasta sauce or spaghetti sauce
1/2 to 1 teaspoon salt for boiling the pasta
 4 to 6 cups of water
 1/8 to 1/4 teaspoon freshly ground pepper
 1 pinch of salt
 1 to 2 handfuls of fresh parsley

Directions:
Pick a large sauce pan and place the water in it, bringing the water to a boil.
At the boiling point, add the salt, stir to dissolve and add the pasta.
Keep in mind that although this might seem like a lot of salt - for pasta it is the only way of actually seasoning the pasta itself because the salty water will be absorbed during the boiling process.
Any other salt will therefore be in the sauce.
Boil until al dente or slightly softer, as per your taste, then drain, but do not rinse.
While the pasta is boiling, slice the sausage and fry it on medium heat in a non-stick skillet, adding just 1 teaspoon of oil, only if you think it is necessary.
Most sausage varieties however, do have a high content of fat and if such is the case with your sausage, then there is no reason for you to add the oil for the frying.
 Chop the parsley only after letting it sit in the water for at least 2 minutes, and having rinsed it twice.
Trust me, you do not want to eat those bugs that like to hide in between the leaves.
 When everything is ready, place the pasta or spaghetti sauce in the pan where you have boiled the pasta, add the pasta, the sausage and the parsley.
If you do not have fresh parsley and would like to try the dry kind instead, you can do so, but you will need to let it sit mixed with the tomato sauce so it can hydrate a bit.
Plate and serve !

Sunday, June 13, 2010

Whipped Shortbread Cookies


I'm sure we all have a favorite cookie that we fondly think of every now and then and frankly mine is this one...light as air, but deep in flavor and usually with a really cute decoration that is always made with the finest chocolate.
I have found the recipe HERE and I am very happy with the results, so therefor I am sharing with you my discovery.
It really does not take too long to make, you just need to whip, mix, pipe, let cool, bake, let cool and dry, then dip and let the chocolate set.
Then you are ready to eat !


Ingredients:

Plain Flour 500g
Soft Butter 350g
Icing Sugar 180g
Eggs 100g (which is 2 eggs)
Lemon or lime zest
Vanilla essence (1/2 teaspoon to 1 teaspoon)
Almond essence (1/8 teaspoon)
A pinch of salt
Dark and White Chocolate .

Directions:

In a kitchen mixer, combine butter, icing sugar, lemon or lime zest and vanilla and almond essence and beat for about 10 minutes. 

Gradually add the eggs and continue beating until the mixture is smooth and creamy. 
Gradually fold in the flour and mix well. 
Pipe the mixture onto a greased baking tray or better yet one covered with parchment paper or a silicone mat 


and transfer to the fridge for at least 30 minutes. 

Bake for 10 to 15 minutes in a preheated oven (180°C or 350 F), or until the bottoms of the biscuits are lightly browned. 
Remove from the oven, let stand for at least 5 minutes and transfer on to a cooling rack. 
If you pick them up too soon from the baking sheet, they will break.
Melt the chocolate for dipping on bain-marie 


and the chocolate for drizzling in the microwave. 


Oblong cookies: Dip one end in the melted chocolate. 


Flower cookies: drizzle chocolate to your taste. 


Transfer to a parchment lined baking sheet and let the chocolate set and dry in the fridge.
Store in the fridge in a tin box or in a paper bag.
Enjoy ! 

Thursday, June 10, 2010

Thin Crunchy Grissini

Today I was feeling like eating grissini and so....I gave THIS recipe a try.
And not only did I make the plain ones, but also Sesame, Poppy Seeds and Sesame & Poppy Seed grissini.
If you go to the store, chances are you are going to find something like this:
Granforno Grissini Breadsticks, Plain, 4.4-Ounce Boxes (Pack of 12)

The recipe is quite easy and I have to say I used cake flour, not the regular all purpose I normally prefer for baking.

Yield: 64 bread sticks if you make them thin or less than that if you make them rather thicker

Time:
  • Mix: 2 – 10 minutes
  • Ferment:  2 hours
  • Divide/shape: 10 minutes per 16 bread sticks
  • Bake: 25 – 30 minutes per 16 bread sticks
Ingredients:
  • 623 g flour (I used Cake Flour)
  • 397 g water or milk at room temperature (try to actually weigh it, not just use a measuring cup)
  • 6.5 g (2 t.) instant yeast or 10 gr active dry
  • 9 g (1.5 t.) salt
  • 28 g (2 T.) olive oil or regular oil
  • topping of your choice or seeds to mix inside the dough
Method:
Combine the flour, yeast, and salt in the bowl of a large food processor.
Pulse a few times to combine.
If using active dry yeast, make sure you dissolve it in the water or milk first.
Combine the water or milk and olive oil in a liquid measuring cup.
With the processor running, add the liquid to the dry ingredients in a steady stream.
Process until the dough is smooth and elastic, about 90 seconds.
Place the dough in a lightly oiled container.
Cover the container and let the dough ferment at room temperature until doubled in volume, about 2 hours.
Preheat the oven to 350F.
Line a large baking sheet with parchment paper or a Silpat silicone mat.
Divide the dough into four equal pieces.
I left one piece plain, then mixed 2 TBSP poppy seeds in another, 2 TBSP sesame seeds in another and then in the fourth one I mixed 1 TBSP poppy seeds and 1 TBSP sesame seeds.
Next time I will toast the sesame seeds prior to mixing them into the dough.
The steps that follow will be repeated for each of the four pieces.
Keep the pieces you’re not working with covered with plastic foil.
On a very little floured counter, roll the dough out into a rectangle about 12 x 8 inches or even smaller than that.
The exact dimensions are not critical.
Cut the dough into 16 strips of equal width or in fewer pieces if you feel like it.
A pizza cutter works very well for this.
Fold each strip over on itself.
On an unfloured surface, roll the strip into a long snake.
Make it a bit longer than the length of your baking sheet, to allow for spring-back.
Place the snakes evenly spaced across the width of the parchment-lined baking sheet.
Lightly spray or brush the grissini with olive oil and sprinkle on the topping or just skip this step.
Bake at 350F for 25 – 30 minutes, until golden brown.
Cool on a wire rack.