On November 15th of every year we celebrate our wedding anniversary and this year it was our 2nd.
Jeff did not request and specific dinner and so I thought I would make something out of the ordinary and something I have never made before.
Some time ago I saw somebody on TV glazing chicken breasts with orange marmelade and balsamic vinegar so that the sugars would caramelize and color the meat and so I just borrowed the idea from there and used pork instead.
I had picked up a mango at the store to make a mango salsa which I had never previously tried and if you are curious, you need to try it as it is just delicious.
The recipe is really suitable for adapting to your personal taste as I just put it together based on what I had and what I personally like.
The mango at Whole Foods was $ 2.99. The yellow mangoes were 2 pieces for $ 2.99.

Ingredients:
For the Salsa:
1 mango, rinsed, peeled, cubed
1/2 tomato, diced

1 small shallot or onion, diced


salt
pepper
2 dashes chili pepper powder
2 TBSP olive oil
juice of 1/2 lemon
1/4 green bell pepper, diced
For the Quinoa:
1/3 cup dry red quinoa


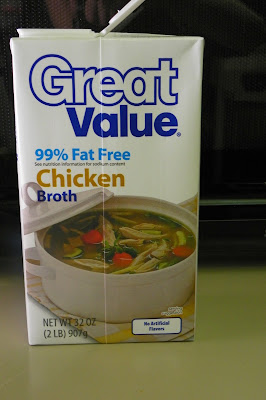
1 and 1/2 to 2 cups chicken broth
1/4 cup shredded cheddar cheese
salt
pepper
For the Meat:
2 pieces of pork loin
salt
pepper
1 TBSP olive oil
2 TBSP orange marmelade

Directions:
For the Salsa:
After you wash/rinse the mango, peel,

cut the fruit flesh

and discard the large seed.
Dice or cube the mango


and place it in a medium size bowl.

Add the diced 1/2 tomato, the diced bell pepper and the diced shallot or onion and then season and dress the ingredients.


Toss to combine, taste and adjust the seasonings to your taste.

For the Quinoa:

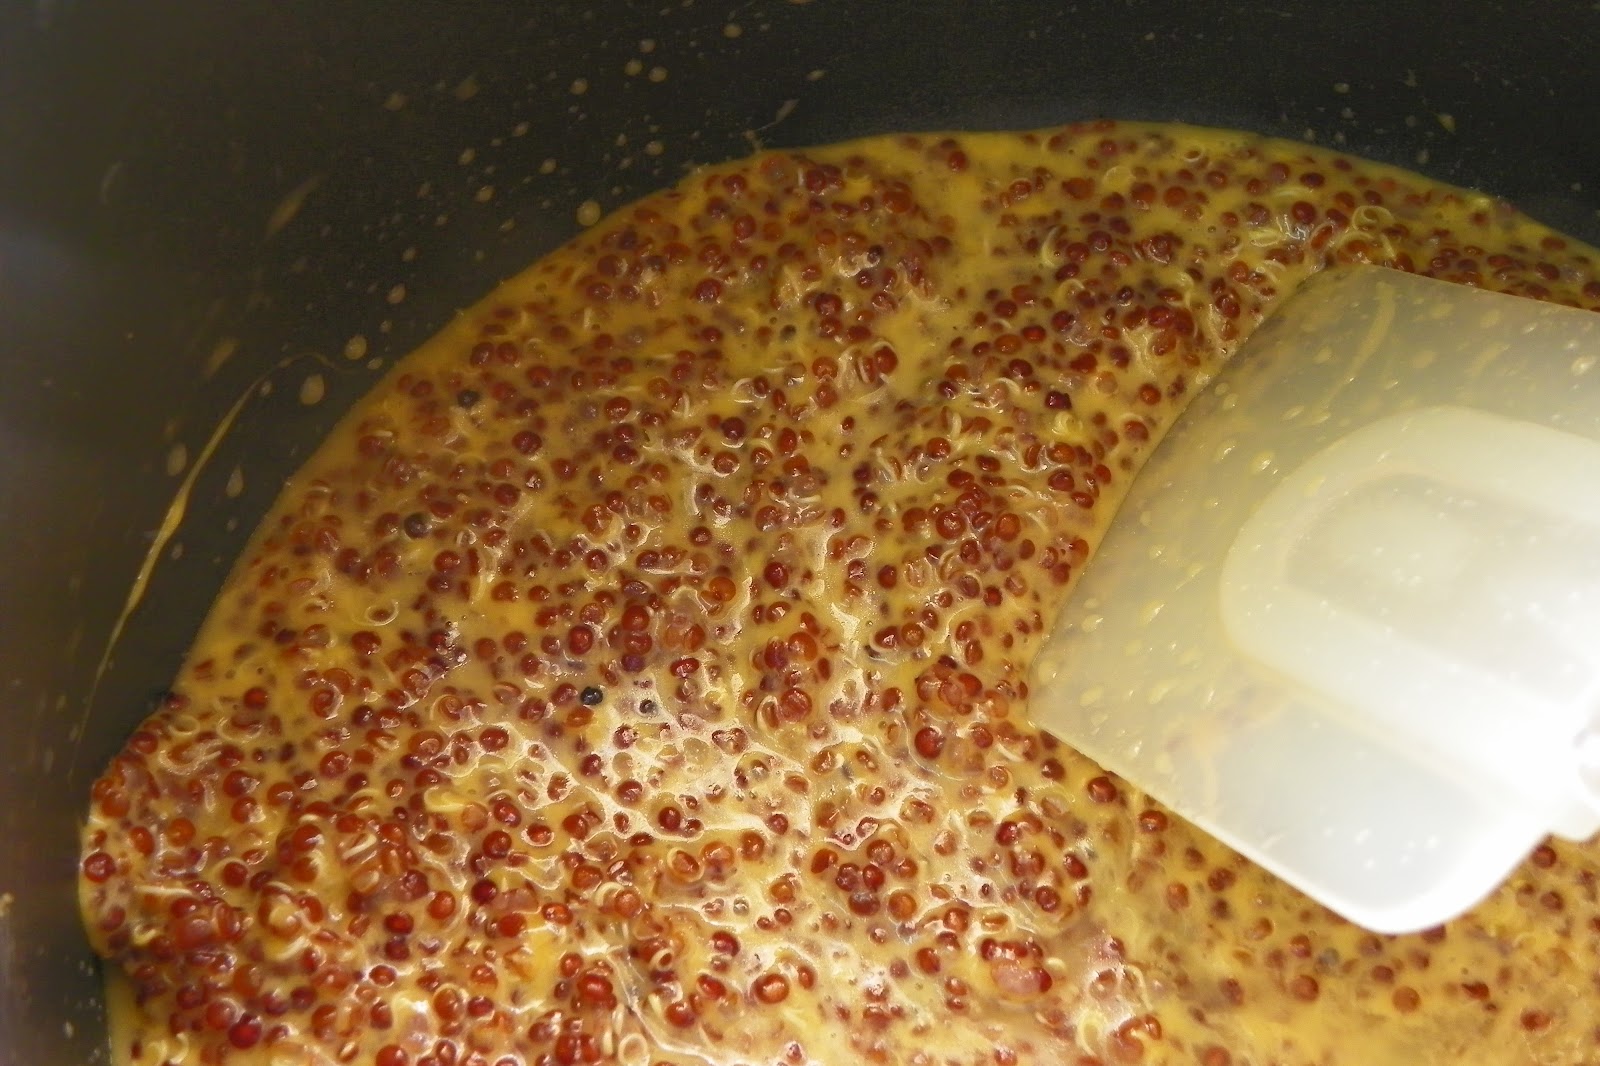
They say that quinoa sometimes needs to be rinsed so that bitterness is washed away from the surface of the grain.
I purchased my red quinoa at Whole Foods and even though I am pretty sure that the grain is pre-rinsed, I let it sit in cold water for 1 hour.


In a medium sized sauce pan I brought to boil 1 and 1/2 cups chicken broth and added the drained quinoa.

I let it cook at medium heat in the liquid until all of it was absorbed,

which took 25 minutes.


At the end I added the cheese

and the 1/2 cup chicken broth that I had left.


You can either mold it

and freeze it for faster cooling or you can enjoy it warm.
For the Meat:
Coat the meat with oil, season with salt and pepper


and spread the orange marmelade on the surface.


Bake at 450 F for 20 minutes

or until the meat looks cooked and the glaze starts to caramelize.

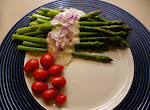
This is how it looked at the 10 minute mark.

Plate and enjoy !!

For dessert we had Key Lime Pie with Strawberry Champagne.